Harvest
Overview
The OAi-PMH Harvest function can be used to import dataasets
Create
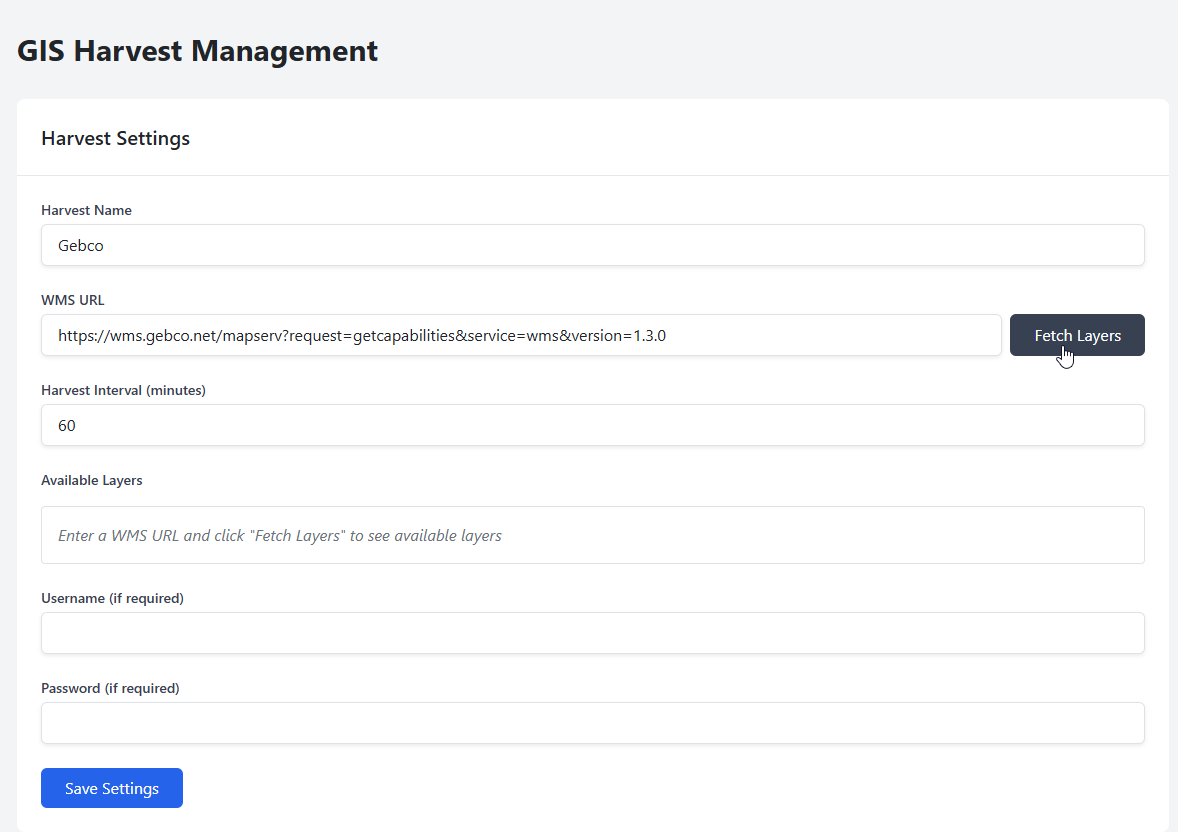
To create a Harvest, give your Harvest a name, enter the WMS Url, and click Fetch Layers
For example: https://wms.gebco.net/mapserv?request=getcapabilities&service=wms&version=1.3.0
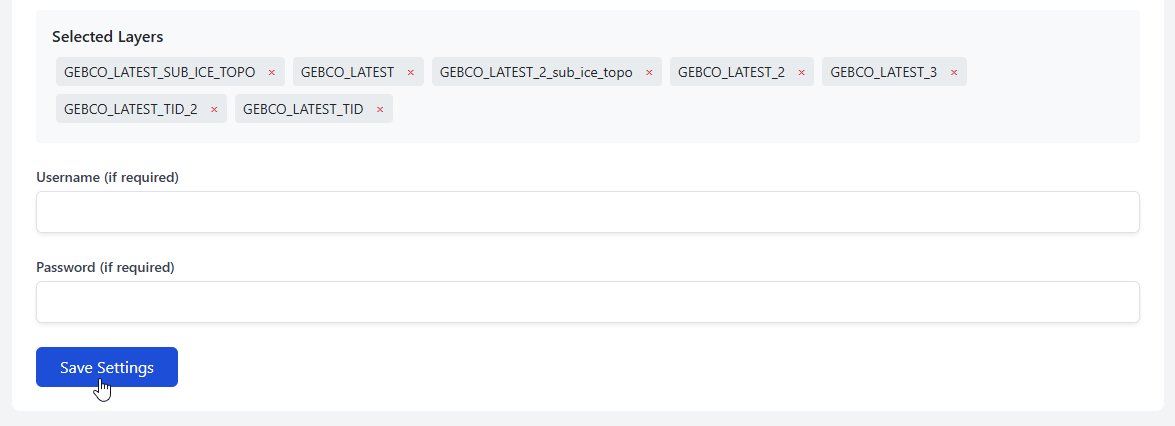
Select the layers you wish to harvest

Click the Save button
The Harvest job should now appear in Harvest History as shown below.
Click the Run button to begin harvesting
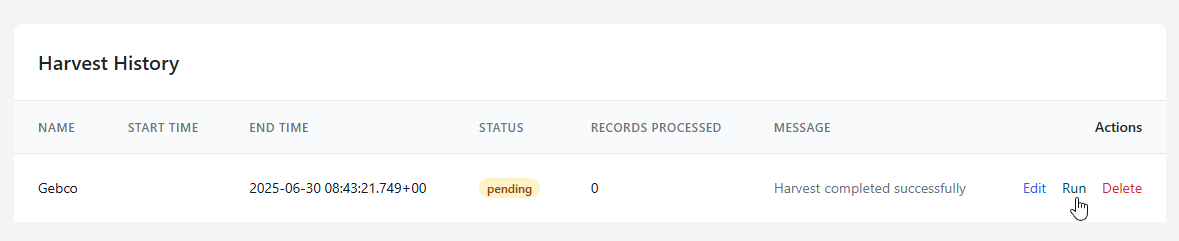
You should see a message that harvest is completed

Harvested Datasets
With the harvest completed, you should now see the harvested datasets
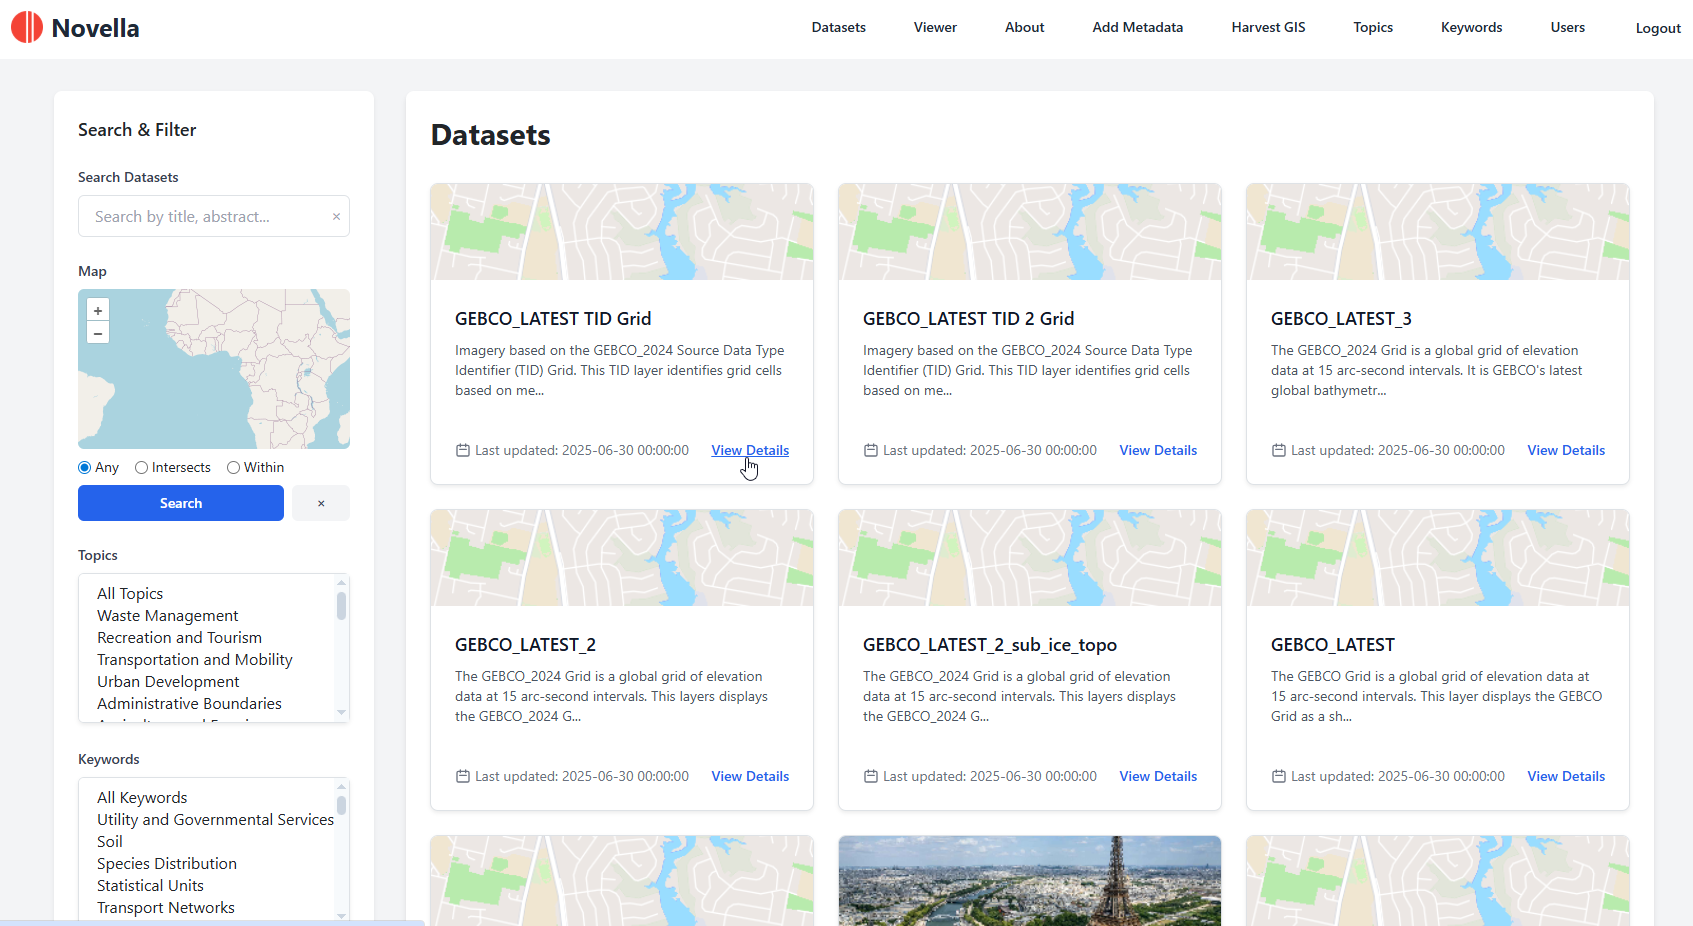
It’s important to note that by default, all harvested datasets are set to Private.
This allows you a chance to reivew and edit datasets prior to publication

Edit
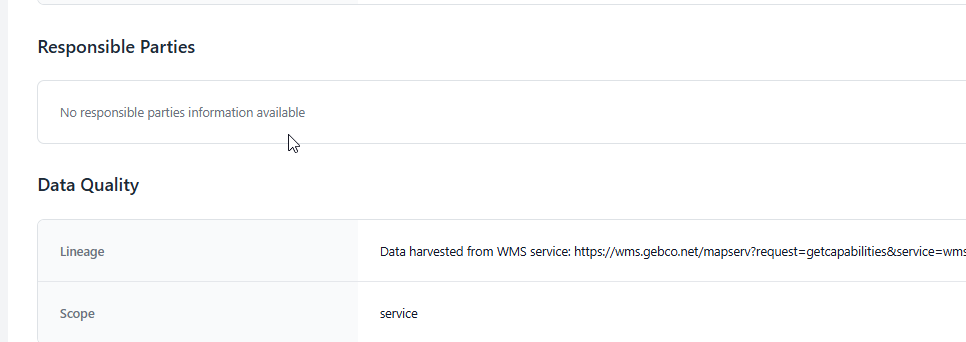
Harvested datasets can be edited like any other datasets.
This is useful for when the harvested data contains incomplete information, such as Responsible Parties below.
Warning
Unless you update the harvest query, scheduled or subsequent harvests will overwrite any edits.
Delete
To delete a harvest, click the Delete link in harvest history

Warning
Deleting a harvest will delete all datasets produced by the harvest.
Scheduling
Schedulong is set in Harvest form and can be updated via the Edit link